We are dealing with a PS2 emulator that is very capable and that provides you a good quality of emulation for your PC. PCSX2 is available for Linux, Windows and MacOS. Its system requirements include 2 GB of video memory and 8 GB of RAM. There are some requirements also for the CPU or processor. A 64-bit operating system is also a requirement. The recommended system settings are a bit higher. PCSX2 has a good and comprehensive website where you can also look for more details.
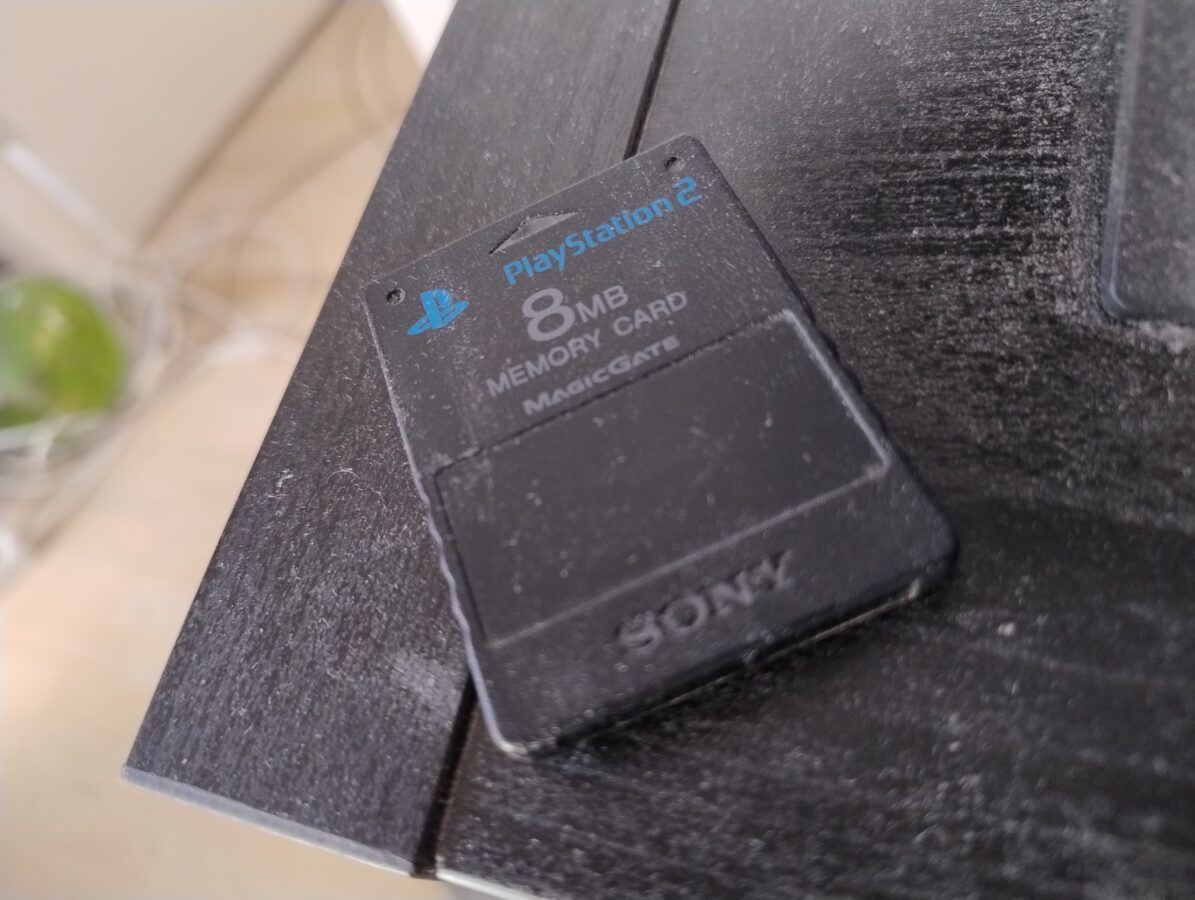
PCSX2 utilizes virtual memory cards that are files that have a filename that is ending in *.ps2. Now, the standard memory cards have 8 MB of space. So, you have to use these memory cards just to save your progress in a game. I am currently playing, once again, Gran Turismo 4 and it takes about 1,5 MB just for the save. There were already some other saves and the emulator printed a message for me saying that the memory card is already full.
So, what do you do? You can of course start your PS2 with no disc inside so that it goes to BIOS. Then you can delete some saved games. You can access BIOS within PCSX2 by first clicking, on your upper left corner: System->Start BIOS. You should do this while there isn’t a game running. Now you can get an access to your memory card by selecting Browser->Memory card on your emulated virtual PS2.
However there is another and more practical way to handle this situation. With no game running on your PCSX2 head over to Settings->Memory cards. Now, click Open… button that is located on the right side of the part that reads Memory cars – Folder: and the location of your virtual memory cards or the files ending with .ps2. Click that button (Open…). Now these files are showing in your operating systems resource manager or the application that you actually handle your files. Now make a copy of the file. This memory card file should preferably be empty. You can empty the file within your PS2 system and then make a copy of the file. You can also leave an empty memory card file that you can copy or clone when you need more space for your saves. I know that I am not going to closely to how the memory card gets copied in your operating system, be it Linux, Windows or Mac, but I think you can manage to do this and will get the idea that I am telling you.
Now, move to your PCSX2 graphical interface. You should be in a windowed view and you should see every memory card file that you have in this specific folder. Make sure there is a tap on your memory card slot 1. Click the “eject” button. Now the virtual memory card gets ejected. Next you must drag-and-drop your new and preferably suitably named memory card file to the slot that was emptied earlier. Congratulations! You have now a fresh virtual memory card to be used with your PCSX2 emulator. You can now click Close on the window and continue using your PCSX2 emulator.
PCSX2 is a very capable PS2 emulator. It makes playing all almost 4000 PS2 games a smooth experience. I found out that tweaking some graphics settings and also settings found from within the game you could actually make the visuals more detailed. You can manage the settings by going in PCSX2 to Settings->Graphics. From Display I changed Aspect Ratio to 16:9. It can be set to standard 4:3 that is the original aspect ratio. You can also change, from Rendering tap, your Internal Resolution. I changed it to 6x Native (4K UHD). You have to consider how powerful your host PC is. I have a compatible CPU, a video card with 8 GB of memory and 16 GB of RAM. I haven’t had any major issues while running PCSX2 with these settings.
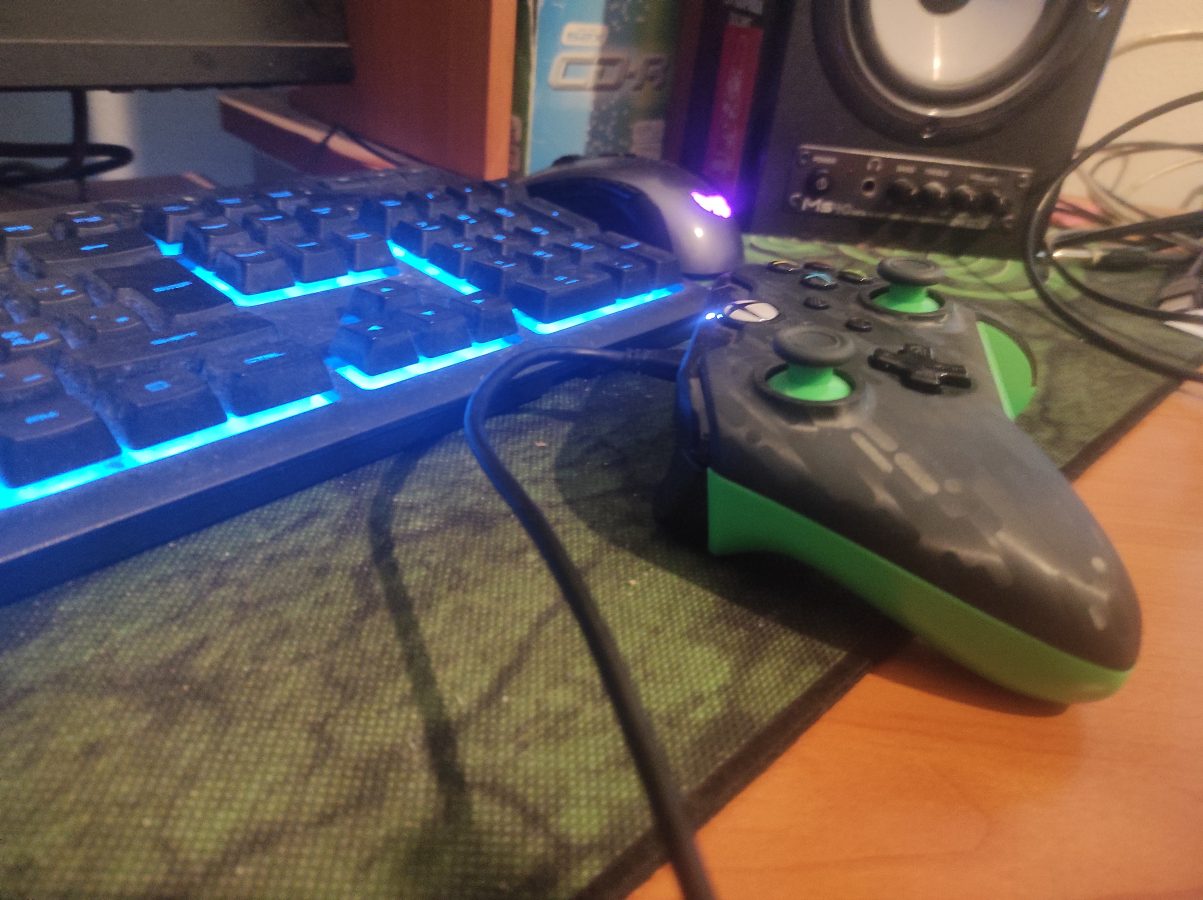
I ended up using PCSX2 because my PS2 always kept breaking. I don’t know if it is because all this dust that you must have seen in my pictures here on this blog. Is it because of the poor overall quality of these game consoles or what. In any way I just find it easier to rip my PS2 games to my PC and then utilize PCSX2 to play them. I don’t get to play with a real PS2 controller but I think that is not so important. Okay then – I hope you found something interesting from this blog post. See you again soon!